As time goes by and preferences change, there comes a time when those once-loved tiles need a refresh. Whether you're looking to update your bathroom, kitchen, or any tiled area in your home, the process of removing old tiles is the essential first step towards a revitalized space. In this guide, we'll delve into the intricacies of tile removal, exploring everything from preparation and tools to techniques that ensure a smooth transition from old to new.
Gather Your Tools and Materials
Before you begin, gather all the necessary tools and materials. You’ll typically need safety gear like goggles, gloves and dust mask, a hammer, a scoring knife, a chisel or putty knife, a pry bar, and possibly a power drill with a tile removal attachment. Additionally, have trash bags or containers ready for debris removal.

Prepare the Work Area
Clear the area around the tiles you’ll be removing. Protect adjacent surfaces and furniture with drop cloths or plastic sheeting to prevent damage or dust accumulation.

Consider Noise and Dust Control
Tile removal can be noisy and dusty. If possible, use a dust-containment system or work in a well-ventilated area to minimize airborne particles. You can also dampen the area with water to reduce dust.
Start Removing Grout
Use a scoring knife or mechanical tool with a grout removal attachment to cut through the grout surrounding the tiles. Be careful not to damage the tiles themselves. This step is crucial as it weakens the bond between the tiles and the substrate. If you need you can use a chemical grout remover.

Loosen and Remove Tiles
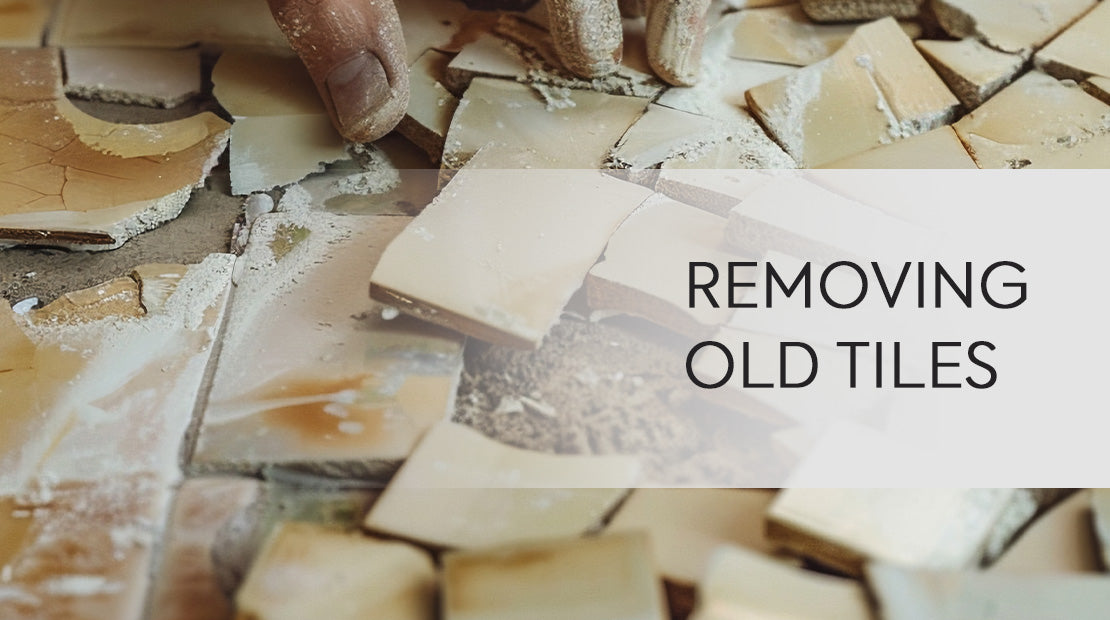
Once the grout is removed, use a hammer and chisel or putty knife to gently pry up the tiles. Start at a corner or edge and work your way across the tile, applying pressure gradually to loosen it from the adhesive beneath. For larger tiles, a pry bar may be necessary to lift them effectively.
Use a Heat Gun or Tile Steamer
If the tiles are particularly stubborn or if you want to minimize damage to the substrate, consider using a heat gun or a tile steamer. These tools can help soften the adhesive, making it easier to remove the tiles without excessive force.

Inspect Underlying Structure
As you remove tiles, inspect the underlying structure for signs of water damage, mold, or other issues. Address any problems before installing new tiles to prevent future issues.
Dispose of Debris
As you remove tiles, place them in trash bags or containers designated for debris. Clean the work area periodically to prevent tripping hazards and to assess your progress.
Remove Adhesive Residue
After all tiles are removed, you may need to remove adhesive residue from the substrate. A putty knife or floor scraper can be used to scrape off the remaining adhesive. Alternatively, a chemical adhesive remover may be necessary for stubborn residues.

Clean and Prepare Substrate
Once the adhesive residue is removed, clean the substrate thoroughly with a damp sponge or cloth to remove any remaining dust or debris. Allow the area to dry completely before proceeding with the installation of new tiles.
By following the systematic steps outlined in this guide, you’ve equipped yourself with the knowledge and tools needed to tackle this project. From preparing your workspace and safely removing grout to carefully lifting tiles and preparing the substrate, each step plays a crucial role in ensuring a successful outcome. Embrace the opportunity to breathe new life into your environment through the removal of old tiles—a process that marks the beginning of exciting transformations and renewed possibilities.

