Grouting is the final step that transforms a tiled surface from a work-in-progress to a polished, professional finish. While it might seem straightforward, the nuances of choosing the right grout, applying it correctly, and finishing with a clean, smooth surface can make all the difference in the durability and appearance of your project. In this guide, we’ll walk you through the process of grouting walls and floors, from selecting the appropriate materials to mastering the technique.
Materials and Tools Needed
To grout a wall or floor, you'll need the following materials and tools: a grout float, a grout sponge, a bucket of water, and optionally a grout sealer for added protection, along with clean cloths or towels for wiping away excess grout. If you're using powdered grout, a mixing bucket and paddle will be necessary.
Preparation
Ensure the tiles and joints are clean, free of dust, debris, and excess adhesive. Any remaining dirt can affect the grout’s adhesion and appearance. This ensures the grout properly fills the spaces without cracking.

Mixing the Grout
Mix the grout as per the package directions. For powdered grout, add water gradually and mix until you achieve a smooth, peanut butter-like consistency. Avoid adding too much water as it can weaken the grout. Allow the mixed grout to sit for about 5-10 minutes to let the chemicals activate. After slaking, give it a final stir before application.
Applying the Grout
Using a grout float, apply the grout to the surface, holding the float at a 45-degree angle. Press the grout into the joints, ensuring they are fully filled. Work in small sections to prevent the grout from drying out. Scrape off excess grout from the tile surface using the edge of the float, holding it almost perpendicular to the tiles.
Cleaning the Tiles
After letting the grout set for about 10-15 minutes, use a damp grout sponge to wipe the tiles in a circular motion. Rinse the sponge frequently in clean water to avoid spreading grout residue. Once the grout has cured for a few hours, do a final cleaning to remove any remaining haze from the tile surfaces. Use a clean, damp cloth or sponge and buff the tiles to a shine.
Sealing the Grout
Once the grout has fully cured (typically after 48-72 hours), you can optionally apply a grout sealer to protect it from moisture and stains. Use a small brush or applicator bottle to apply the sealer along the grout lines and wipe off any excess sealer from the tiles. Let the sealer dry completely before exposing the surface to water or heavy use. Inspect the grout lines for any gaps or cracks. If needed, apply additional grout to fill any voids, and clean up as before.

Further Protection
For additional protection, consider using a grout protector to keep your grout looking new for longer. Additionally, a grout haze remover can be very effective for cleaning any leftover residue and achieving a professional finish.

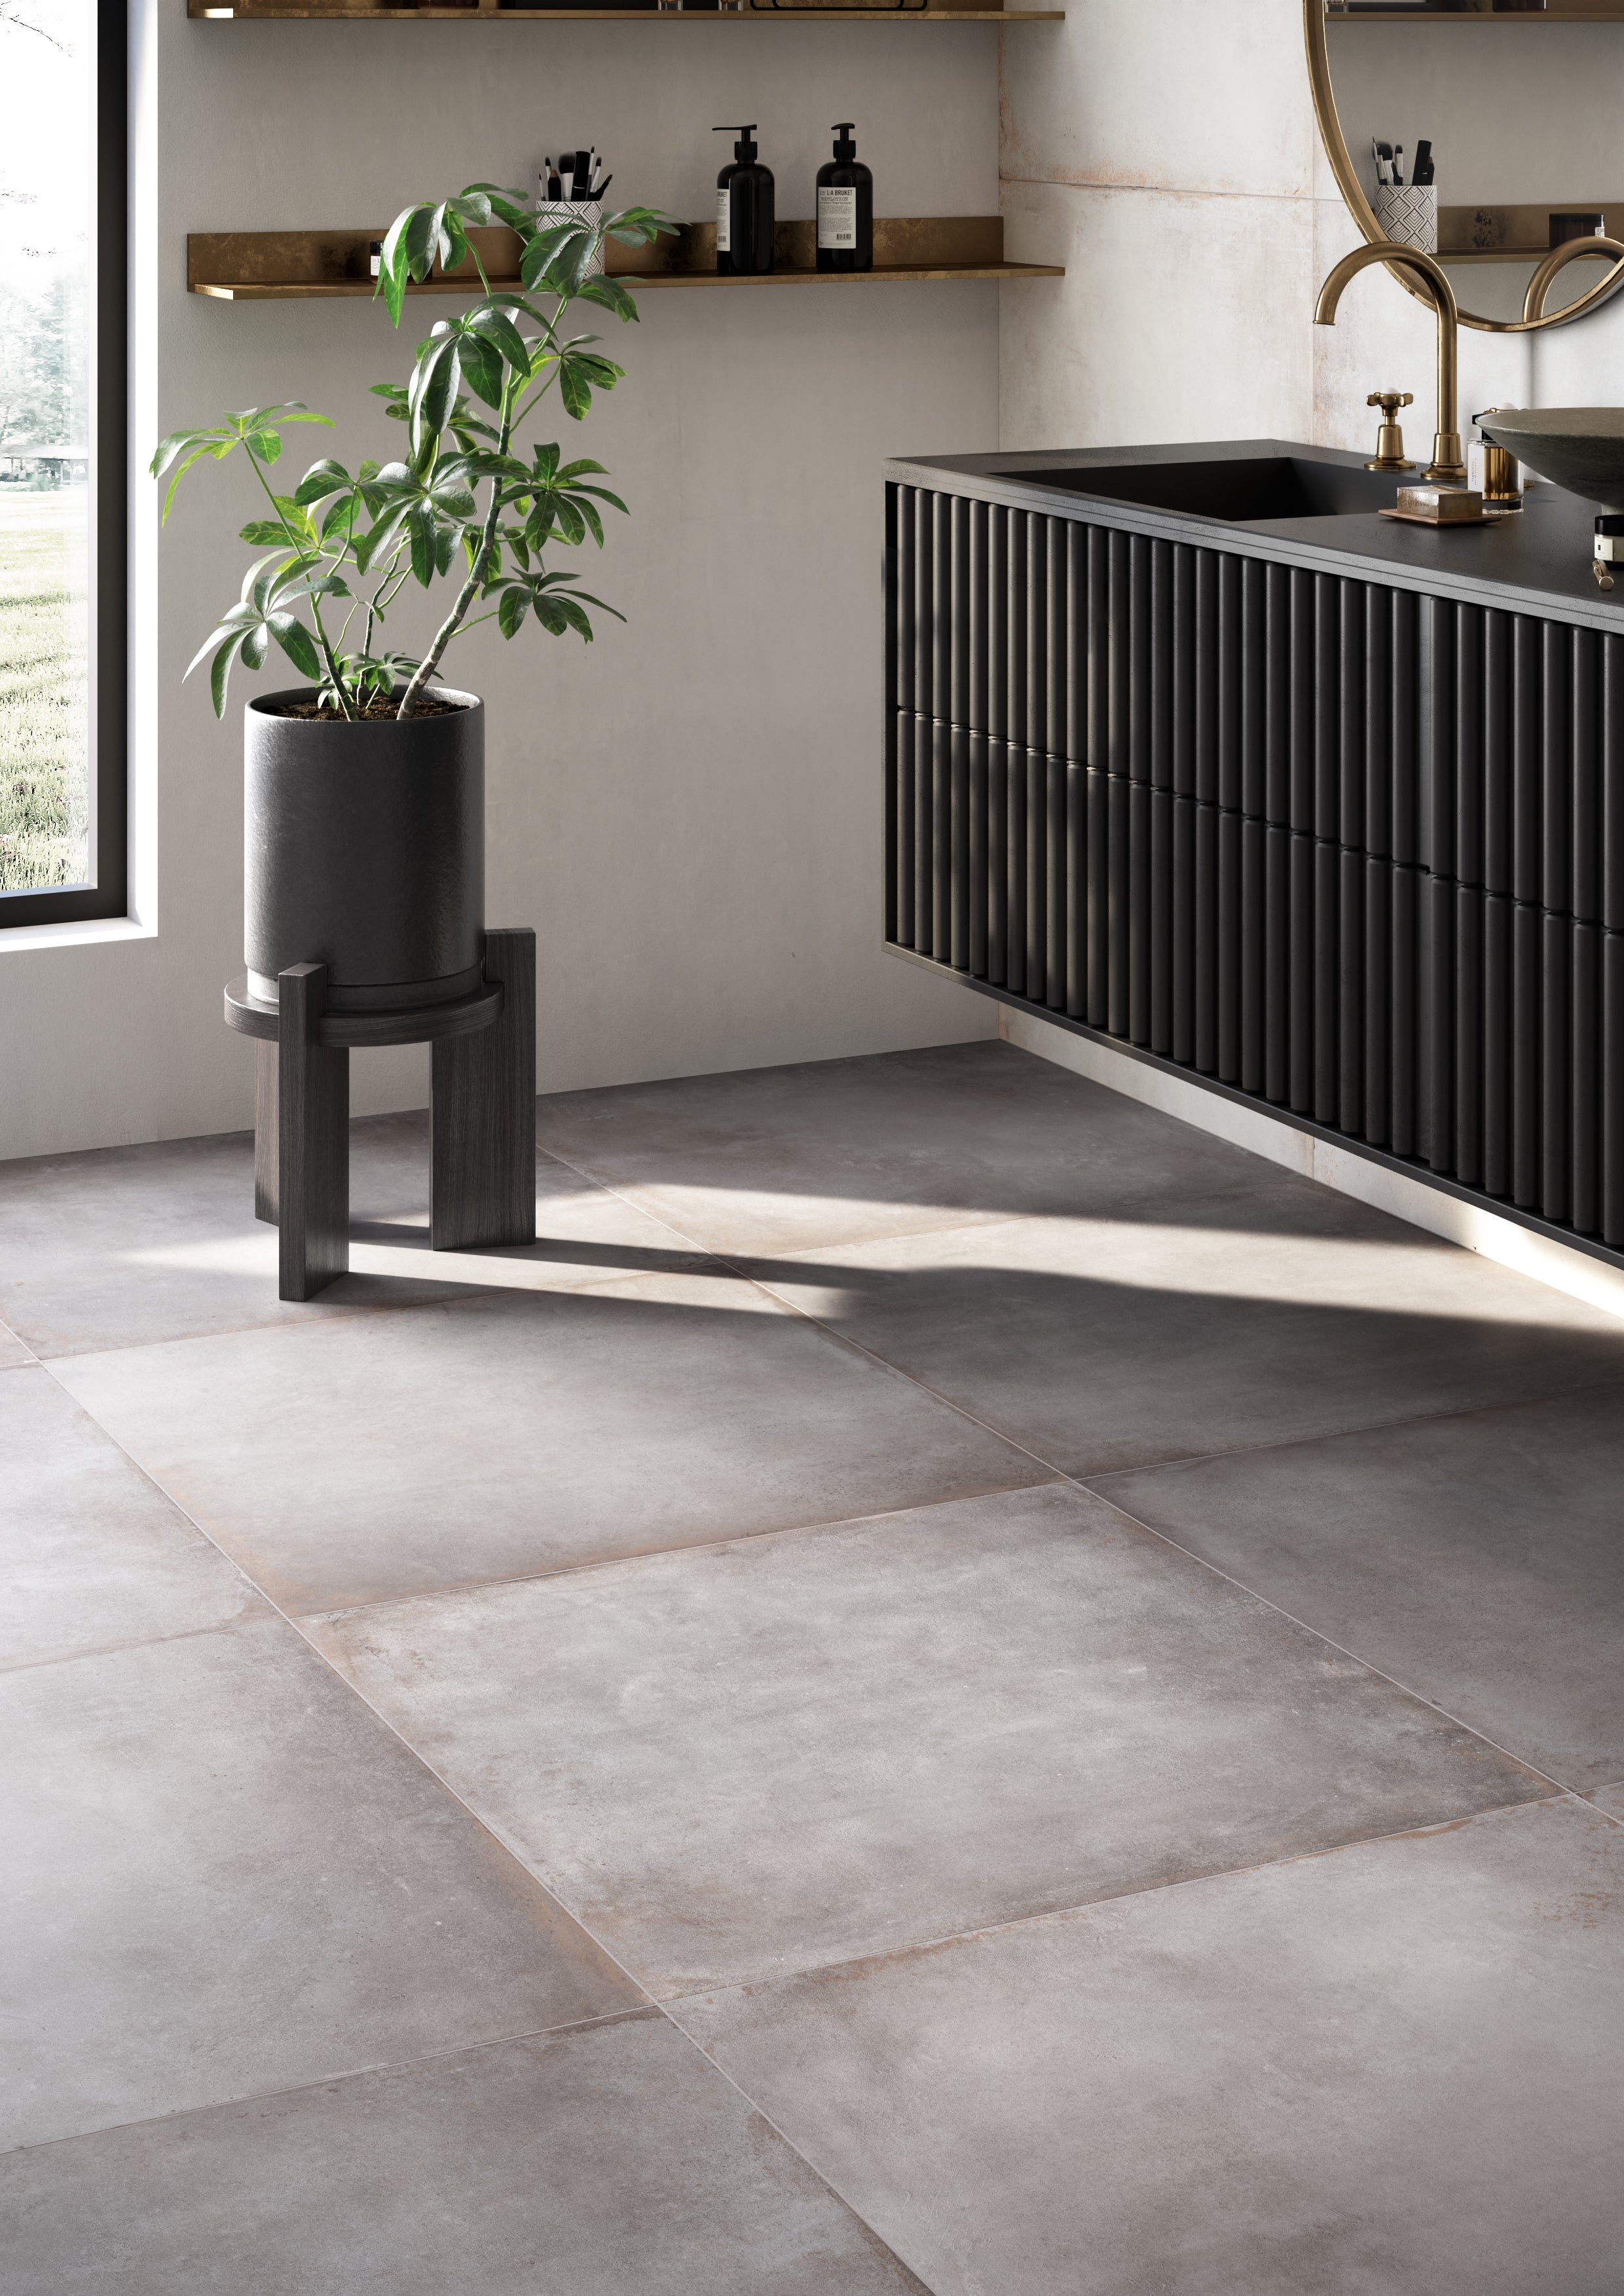
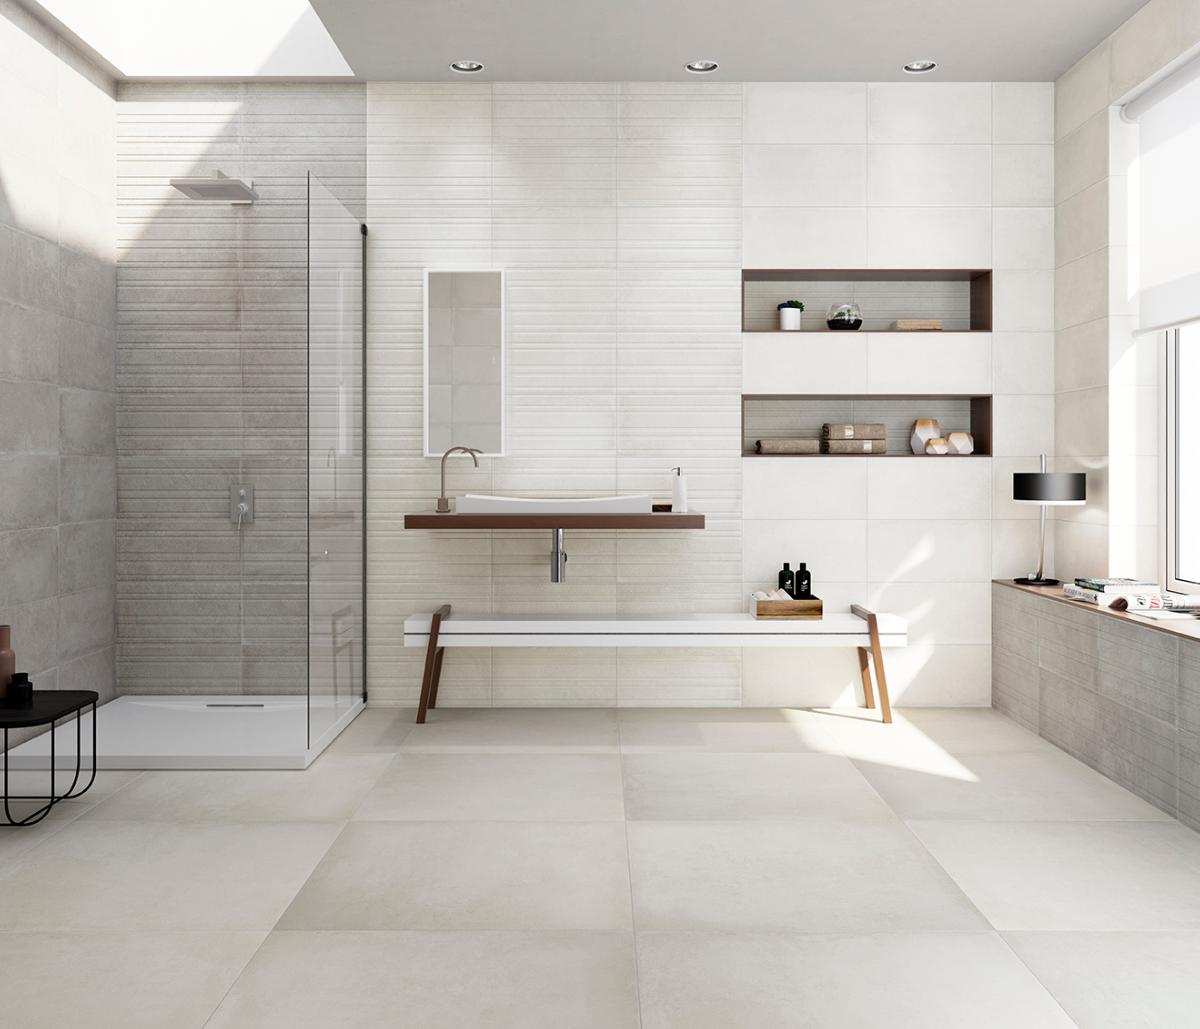
Whether you're renovating a bathroom, updating a kitchen backsplash, or laying a new floor, grouting is an essential skill that ensures the longevity and aesthetics of your tile work. By following these steps, you can achieve a professional-looking grout job that enhances the durability and appearance of your tiled surfaces.