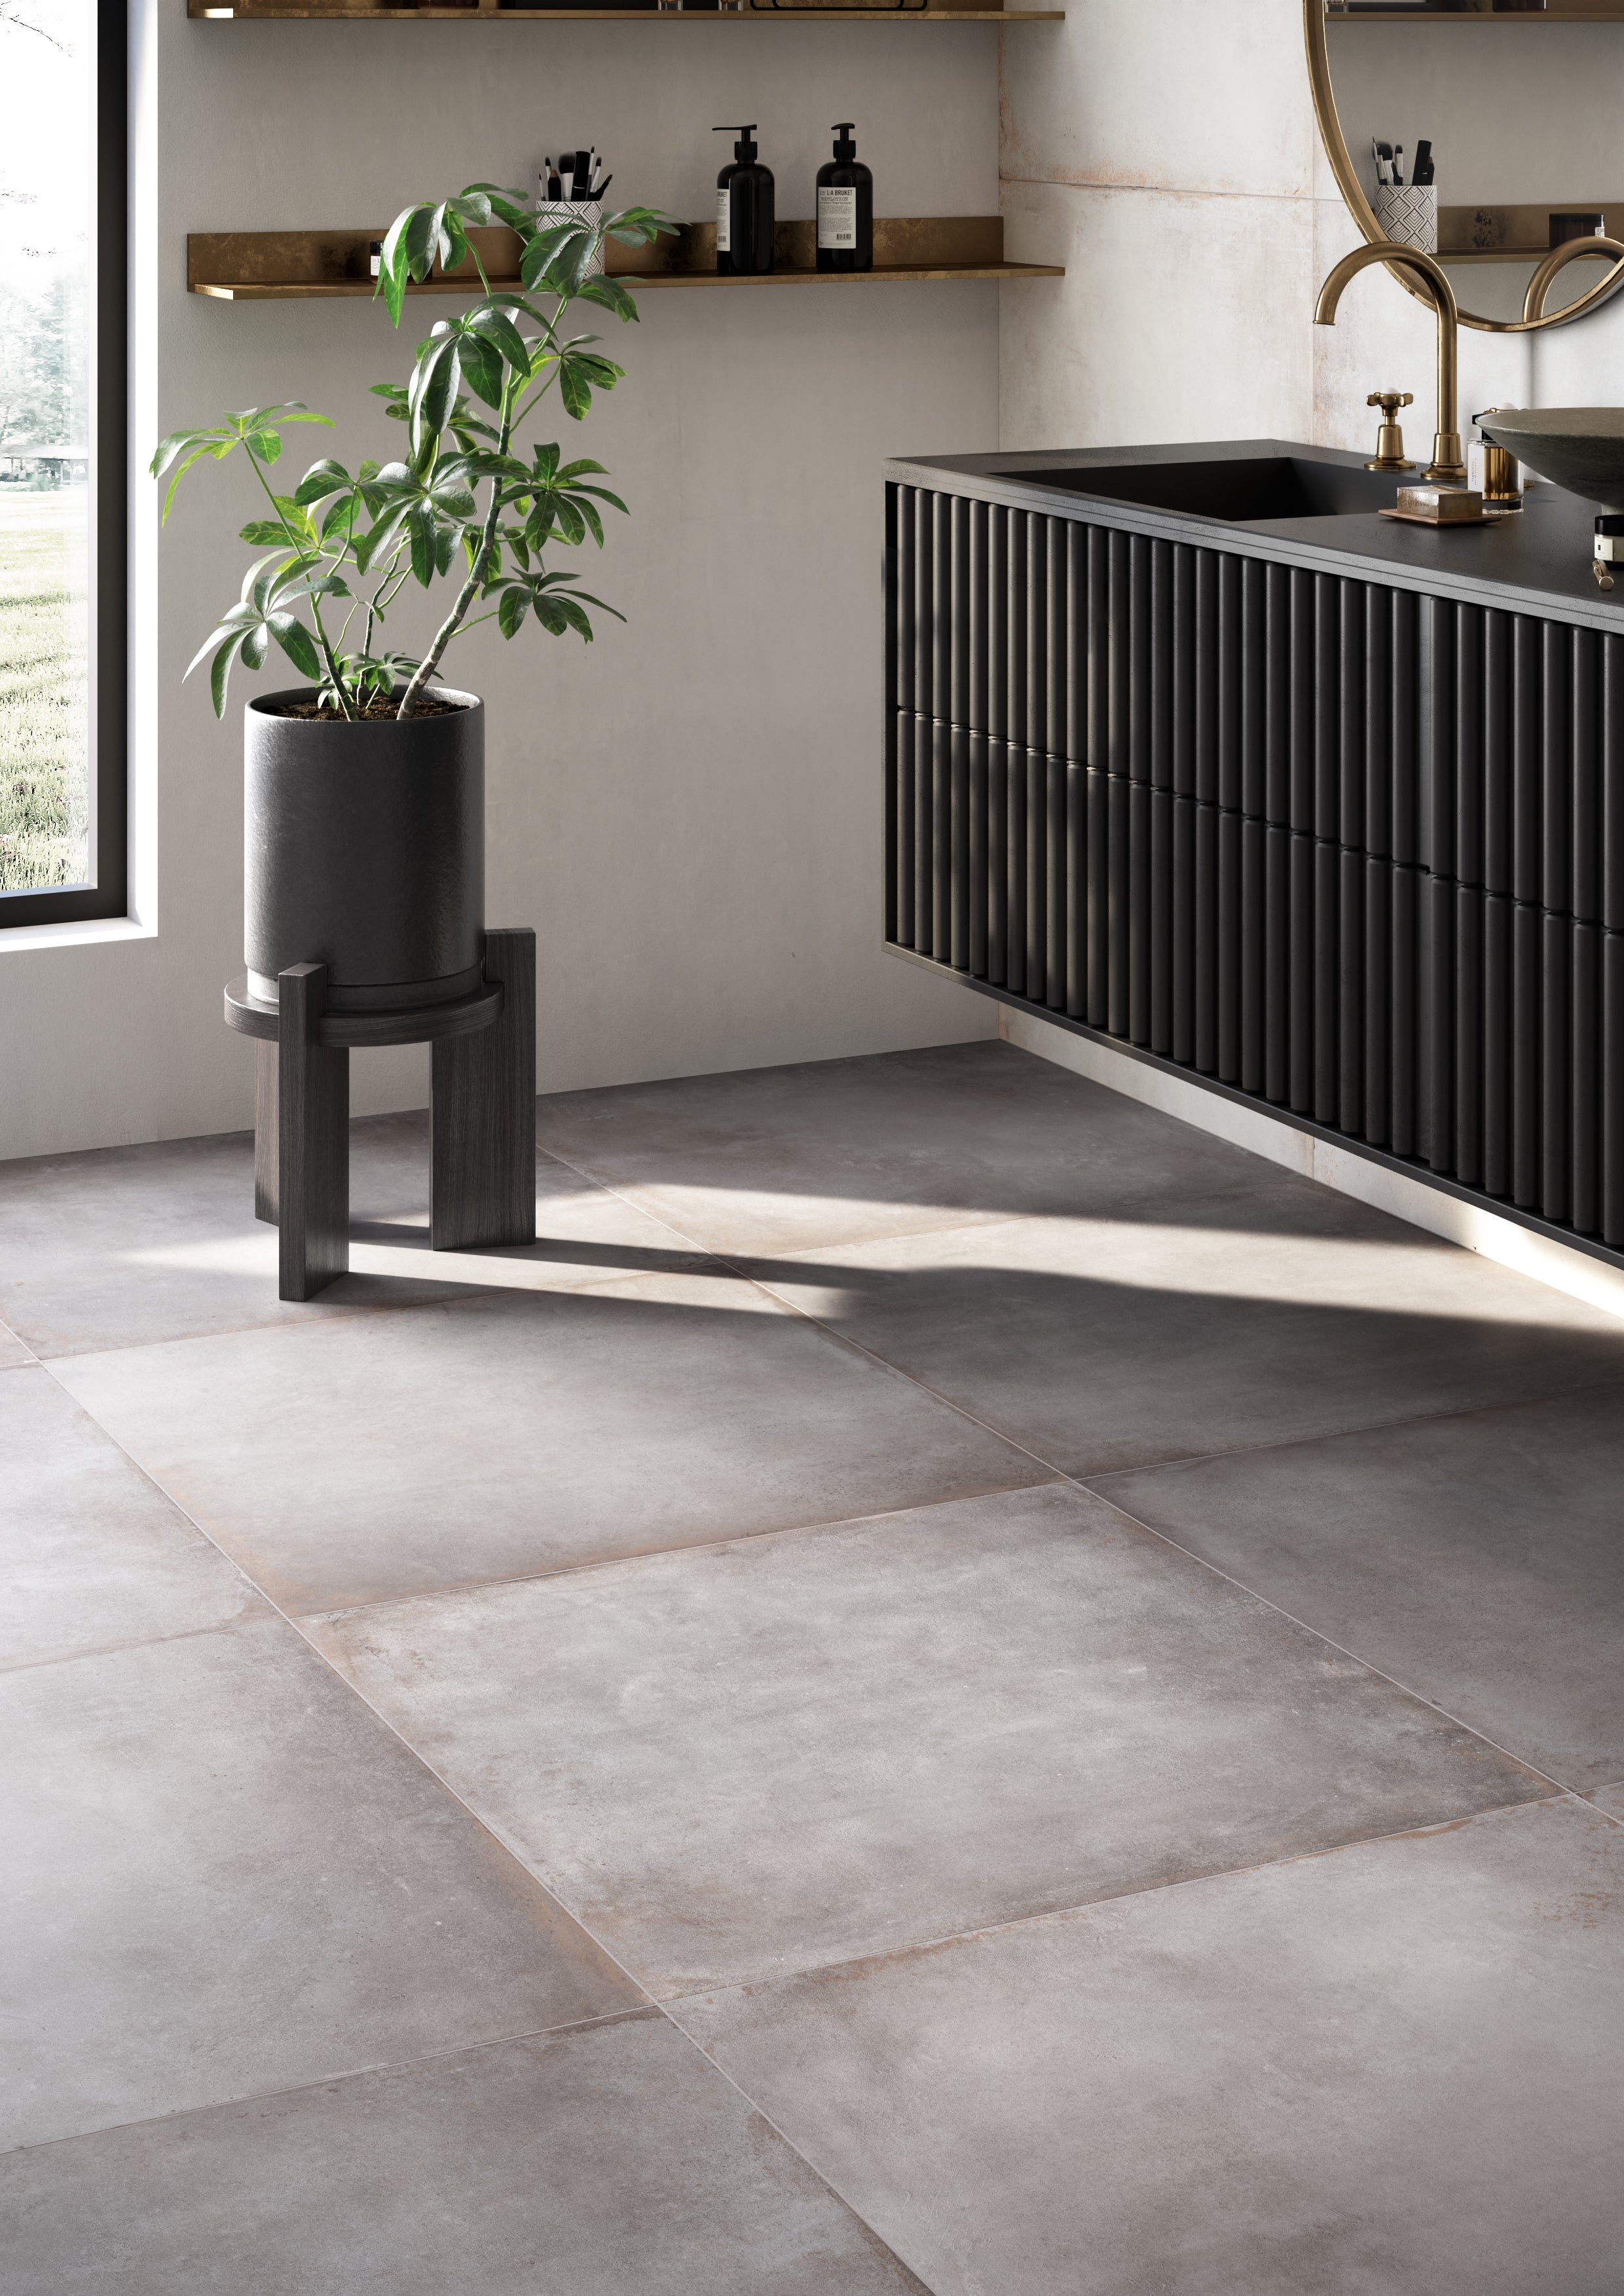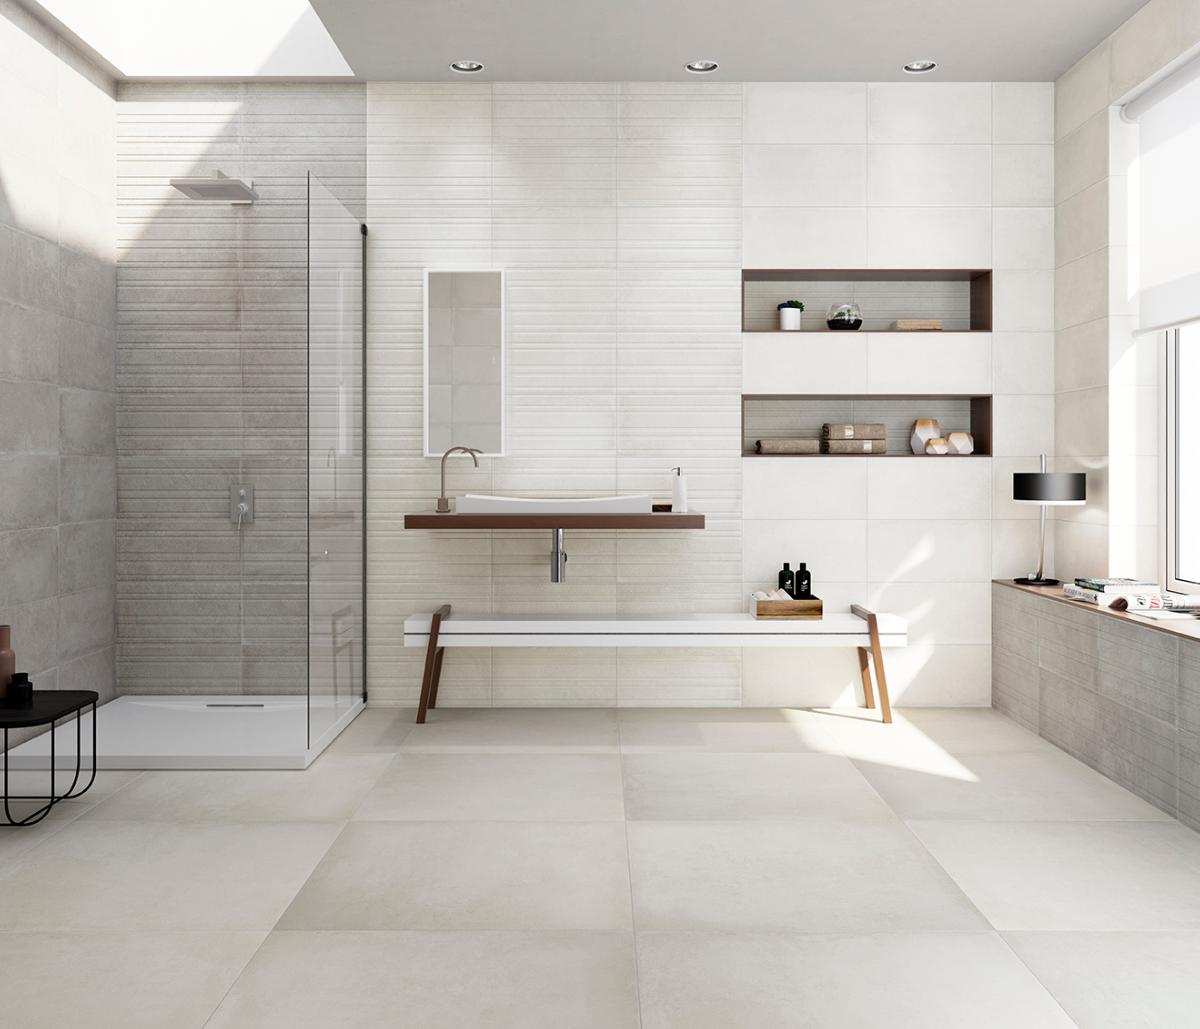
Over time, the grout between your tiles can become discoloured, cracked, or moldy, taking away from the overall look and hygiene of your space. Regrouting your tiles is a cost-effective way to breathe new life into your bathroom, kitchen, or any tiled area without the need for a complete overhaul. From the tools you'll need to the detailed steps of removing old grout and applying new, we've got you covered. Say goodbye to unsightly grout lines and hello to a refreshed, pristine tiled surface.
Steps to Regrout Your Tiles
Regrouting tiles is a straightforward yet transformative process that can revitalize your space. Here are the detailed steps to help you achieve professional results:
Materials and Tools Needed
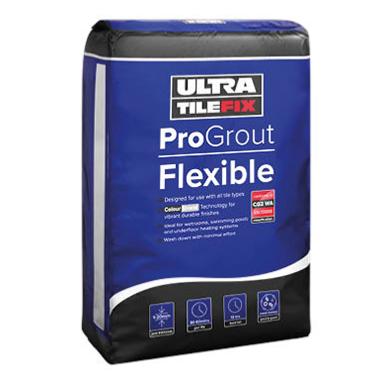
To regrout your tiles, you'll need a grout removal tool, a vacuum or brush, new grout, a grout float, a sponge, a bucket of water, and optionally, a grout sealer for added protection. For additional protection, consider using a grout protector to keep your grout looking new for longer. After grouting, use a grout residue remover to clean any remaining haze from the tiles and achieve a professional finish.
Preparing the Area
Lay down dust sheets to protect surrounding surfaces and catch debris. If regrouting a floor, remove any furniture to clear the area.
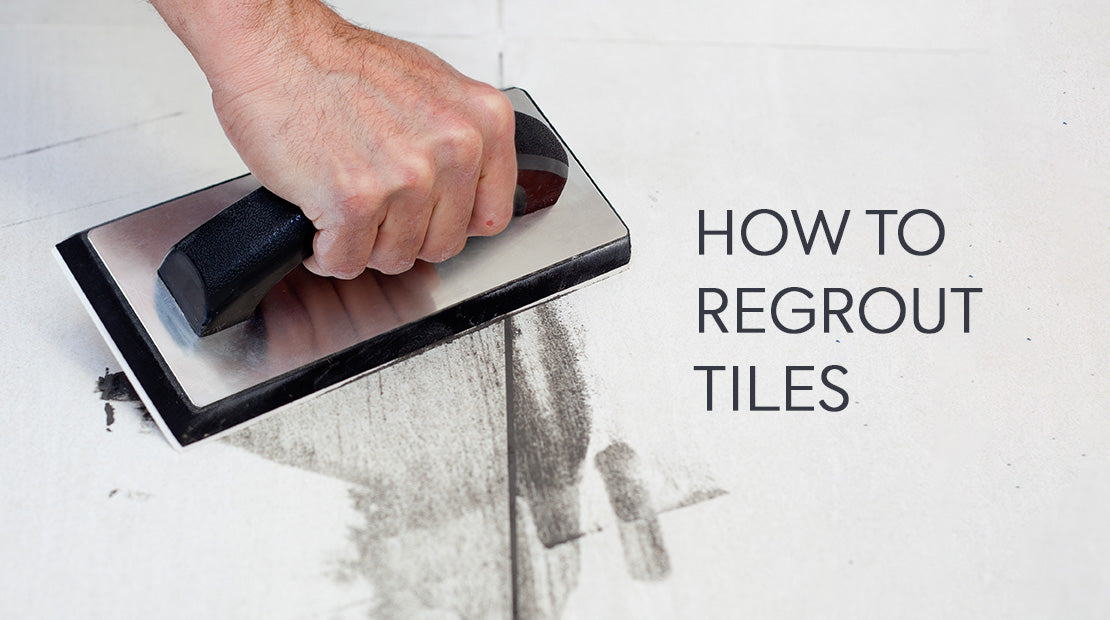
Removing Old Grout
Use a grout removal tool to carefully scrape out the old grout. For larger areas or harder grout, an electric grout remover can save time and effort. Work in small sections to avoid damaging the tiles. After removing the grout, clean the joints with a vacuum or brush to ensure all debris is removed.

Mixing the New Grout
Create a smooth, peanut butter-like consistency by mixing the new grout according to the manufacturer's instructions. Only mix enough grout for a small section (3-4 square metres) to prevent it from drying out too quickly.
Applying the New Grout
Using a grout float, apply the grout diagonally across the tiles, pressing it firmly into the joints. Make sure all gaps are fully filled. Scrape off excess grout with the edge of the float, holding it at a steep angle to leave the tiles as clean as possible.

Cleaning the Surface
After the grout has set for about 10-15 minutes, use a damp grout sponge to wipe the tiles in a circular motion. Rinse the sponge frequently to keep it clean. Once the grout has dried for a few hours, do a final clean with a damp cloth to remove any remaining grout haze.
Applying Grout Sealer
After the grout has fully cured (typically 48-72 hours), you have the option to apply a grout sealer to protect it from moisture and stains. This step is particularly important for areas exposed to water, like showers and splashbacks.

By following these steps, you can effectively regrout your tiles, restoring the beauty and durability of your tiled surfaces. This process not only enhances the aesthetics but also ensures the longevity of your tiles against moisture and wear