Transforming your space with wall tiles can dramatically enhance its appearance and functionality. Whether you're updating a kitchen backsplash, bathroom wall, or any other area, installing wall tiles is a rewarding DIY project. Here’s a comprehensive guide to help you achieve professional-looking results.
Materials and Tools You'll Need
- Wall tiles
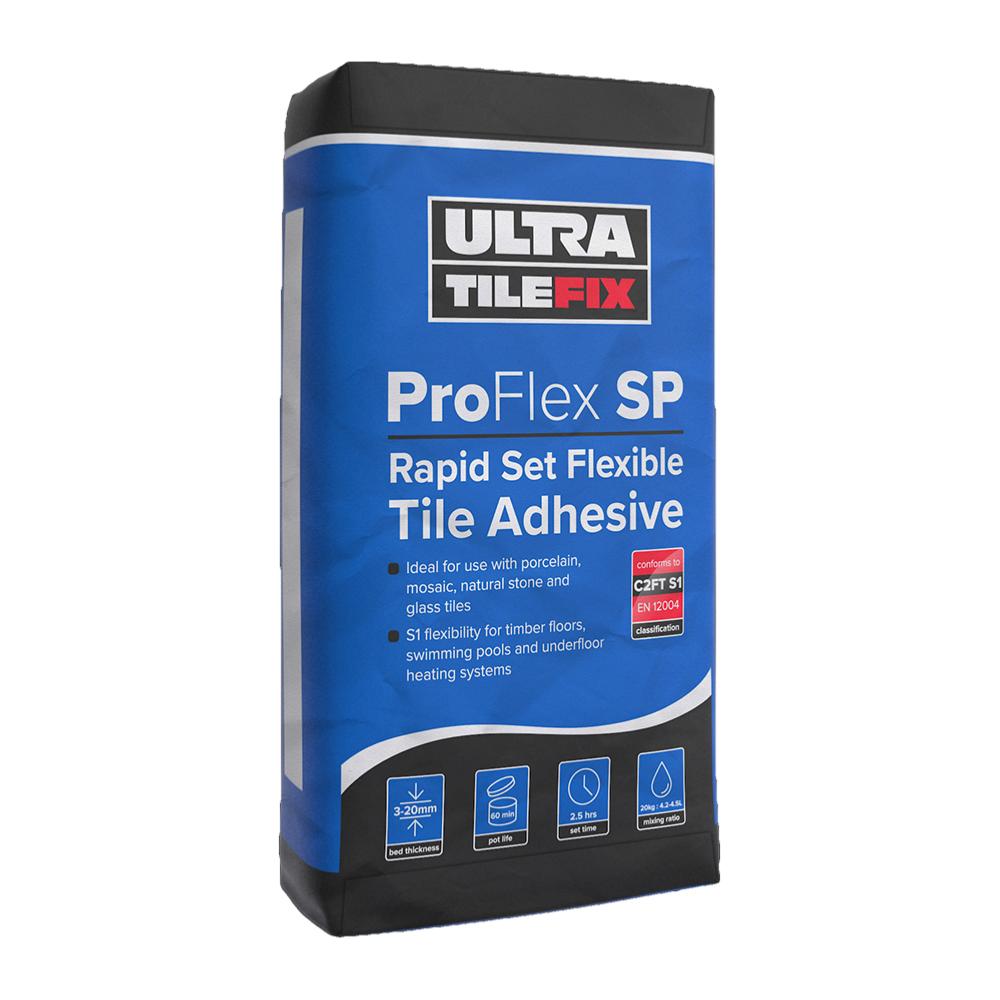
- Tile adhesive
- Tile spacers
- Notched trowel
- Tile cutter or wet saw
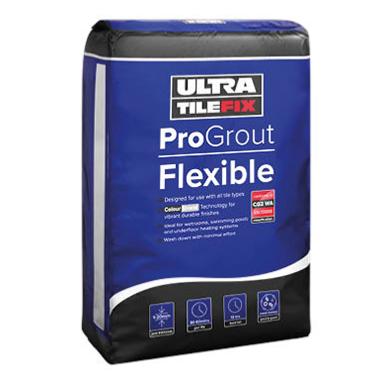
- Grout
- Grout float
- Level
- Tape measure
- Pencil
- Sponge and bucket
- Safety glasses and gloves
Is it hard to Tile a Wall
Installing wall tiles can vary in difficulty depending on several factors such as the type of tiles, the surface to be tiled, the complexity of the design, and the installer's experience.
It will be easy if the wall is smooth, clean, and already suitable for tiling and more challenging if the wall needs extensive preparation such as cleaning, repairing, or leveling.
Ideal tiles for "entry-level" tiling will be standard ceramic or porcelain, with a straightforward design. It gets more complex if you use patterns, mosaic tiles, or heavy materials like stone or marble. Herringbone designs, diagonals and use of specialised tools like wet saw for cutting requires experienced tiler.
Step 1: Prepare the Surface
Start by ensuring the surface is clean, dry, and free of dust. If the wall has existing tiles, remove them and sand down any adhesive residue. For newly plastered or painted walls, a coat of primer can help the adhesive bond better.
Step 2: Plan Your Layout
Measure the wall and mark the center point. Dry-lay a row of tiles along the bottom edge and use spacers to account for grout lines. This helps you visualize the layout and make necessary adjustments. It's crucial to avoid ending up with small, awkward cuts at the edges.
Step 3: Apply Tile Adhesive
Mix the tile adhesive according to the manufacturer’s instructions. Using a notched trowel, spread a thin layer of adhesive on the wall, starting from the bottom. Work in small sections to prevent the adhesive from drying out before you place the tiles.

Step 4: Set the Tiles
Begin placing the tiles at the bottom center, pressing them firmly into the adhesive. Use tile spacers between each tile to ensure consistent grout lines. Continue working upward and outward, periodically checking that the tiles are level and straight.Step 5: Cutting Tiles
When you reach edges or obstacles, you'll need to cut tiles to fit. Measure the space carefully and mark the tile where it needs to be cut. Use a tile cutter for straight cuts or a wet saw for more complex shapes. Always wear safety glasses and gloves when cutting tiles.

Step 6: Allow Adhesive to Set
Once all tiles are in place, allow the adhesive to set as per the manufacturer’s instructions, usually 24 hours. This ensures the tiles are firmly attached before you proceed to grouting.
Step 7: Apply Grout
Remove the tile spacers once the adhesive is set. Mix the grout according to the package directions and use a grout float to apply it over the tiles, pressing it into the gaps. Work in small sections and wipe away excess grout with a damp sponge before it dries.
Step 8: Clean and Finish
After the grout has partially set (about 15-30 minutes), clean the tile surface with a damp sponge to remove any grout haze. Be careful not to drag too much grout out of the joints. Once the grout is fully cured, usually after 24 hours, buff the tiles with a dry cloth to remove any remaining haze.
Step 9: Seal the Grout (Optional)
If your tiles are in a wet area like a shower or backsplash, consider applying a grout sealer. This helps protect against stains and moisture, keeping your tile installation looking pristine for longer.

Tips for Success
- Take Your Time: Rushing can lead to mistakes. Take your time to ensure each tile is correctly placed and level.
- Consistency is Key: Keep your tile joints consistent by using spacers. This not only looks better but makes grouting easier.
- Use Quality Materials: High-quality adhesive and grout can make a big difference in the durability and appearance of your tile installation.
Installing wall tiles can be a satisfying project that significantly enhances the look and feel of your space. By following these steps and taking care to plan and execute the job meticulously, you can achieve a professional finish. For more tips and high-quality tile options, visit our website or stop by our showroom. Happy tiling!
Visit us:
2 Ty Coch Way, NP44 7HB, Cwmbran, Wales
sales@tilesahead.co.uk
01633 875003


3 comments
Tile Setters Vancouver
Great post! This step-by-step guide on installing wall tiles is so clear and easy to follow. It’s perfect for DIYers looking to take on a project with confidence. Thanks for breaking it down so well!
Richmond General Contractors
I really enjoyed reading your detailed guide on how to install wall tiles! The step-by-step instructions are easy to follow, and I appreciate the tips about using a notched trowel for an even application. As a general contractor, I’ve worked on various tiling projects, and I always find it helpful to remind clients about the importance of proper surface preparation before starting. Your advice on using spacers and checking tile alignment during installation is also spot on—it really makes a difference in achieving a professional finish.
One thing I would add is the importance of using the right adhesive for different tile types, especially when dealing with larger tiles. It might also be useful to mention grout cleaning tips after installation to ensure longevity and prevent discoloration.
Have you found any specific types of adhesive or grout that work particularly well for heavy-duty wall tiles, or do you prefer a general-purpose option? Would love to hear your thoughts!
Tile pro
Thanks For sharing this point to point information to us.. I must say you add every single step add in your blog that will be helpful for beginner and professional who are looking for tile installation products . Keep up the good work