
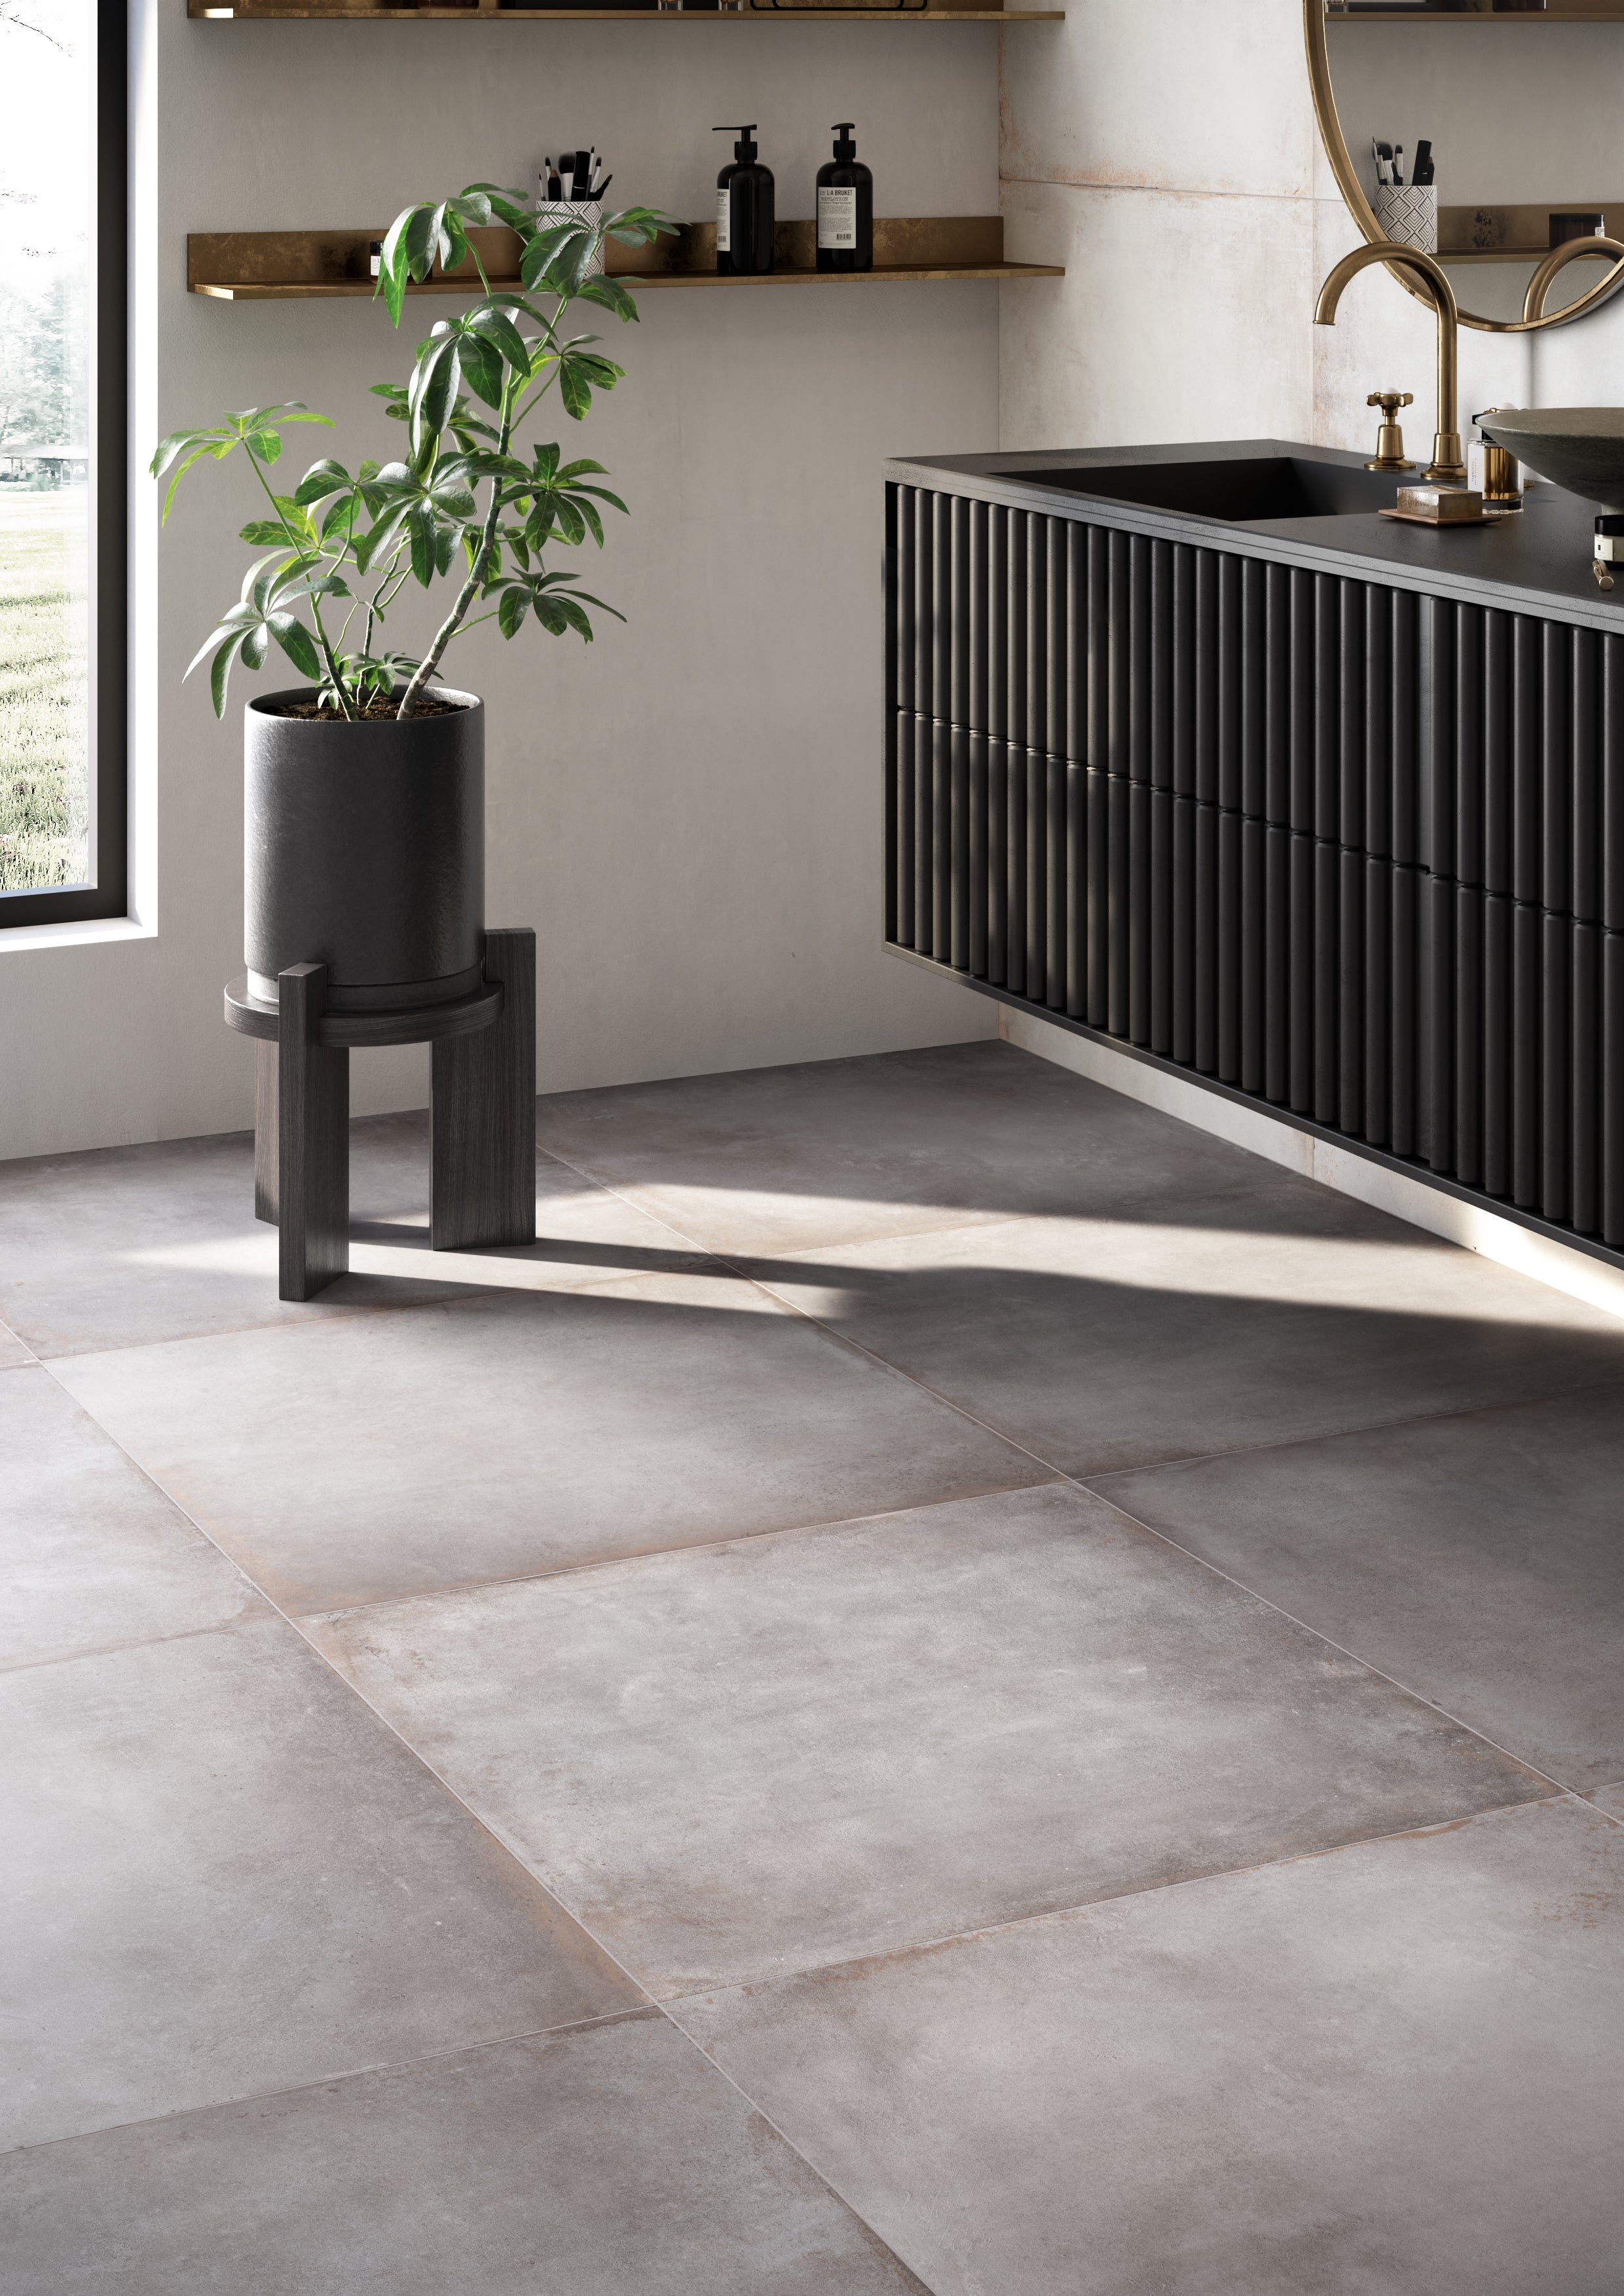
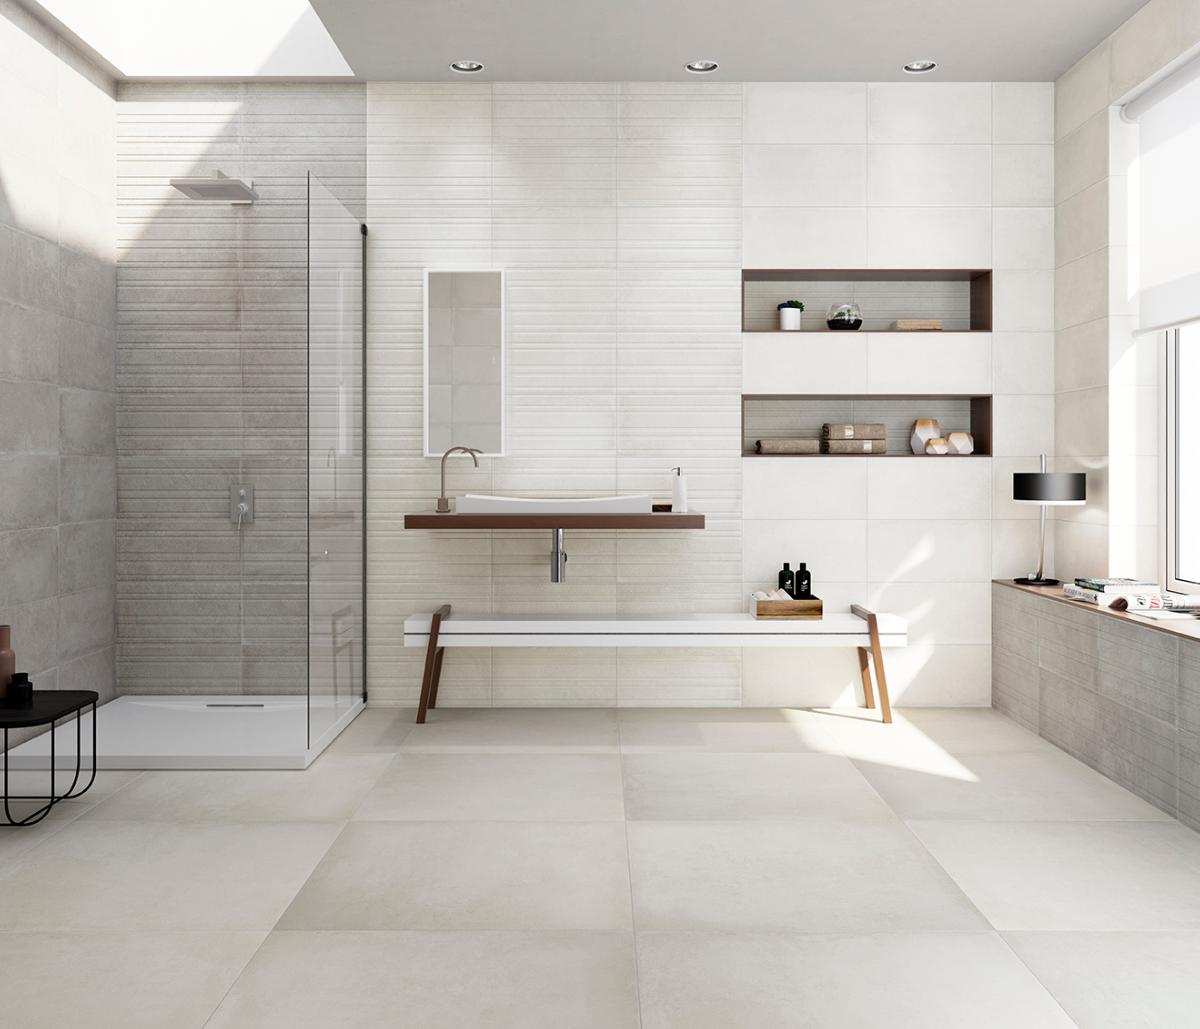
This is the next installment in our tile application series with an accent on floor tiles. Ceramic floor tiles are a more fragile material that requests special attention for a proper installation that lasts a long time. A lot of these techniques can be also used with the installation of porcelain tiles, but it focuses on delicate materials. Before you get into the steps, make sure to prepare and gather everything needed for the basic installation.
Creating a Layout
As we mentioned in the first article of the series, an essential step in the installation is simply laying down the tiles with no adhesive. This will allow you to plan the entire premise and minimize cutting and last minute changes in order to fit in the tiles. You should plan your layout in a way that utilizes their full frame and reduce the need for cutting them in an awkward fashion. If you still have spots where tiles can not fit perfectly, you should try placing them where vanities and other furniture could cover them later.
Laying it All Dry
The most practical method to do that is by marking a cross in the center of the floor from the midpoints of all the walls of the room. This way you mark a starting point for laying out the tiles to get a symmetric result. When placing down the straight line of tiles you can measure how much you will need to cut from the distance to each wall. You can readjust and repeat the process to get the result you want on both sides. Cut the tiles and continue with trimming the door casings so they fit with the thickness of the floor installation. Make sure you take into account not only the tile thickness but also the thinset that will sit beneath it.
Spreading the Mortar
It’s time to create a solid and perfectly even mortar bed for your installation. The mortar’s job is to sit on top of the subfloors and provide the tiles with an easy to stick surface that will make them last a long time. Ceramic tiles are typically installed with a thinset mortar that is mixed with latex additive for added sturdiness and flexibility. Once consistently blended and set aside for about 10minutes, the mix can be used in the span of about 2 hours. Start spreading the thinset in two steps. Apply a first layer with the flat part of the trowel and then add a second layer with the jagged side of the trowel.The streaked thinset is good for the installation because it allows air to escape from beneath the tiles as you lay them down.

Placing Down the Tiles
Are you nervous for this next step? You shouldn’t be as long as you have the right approach to laying the tiles down. At first it might look like a messy and hard to coordinate process, but once you start you will feel much more confident. Use spacers and a straightedge to get good results all over the floor. As you place each tile down along the straightedge make sure to apply pressure on top of it with your fingers and a delicate twist in the wrist. This technique prevents any tiles from sitting at a higher level than the other. Once you finish the first row you can get rid of the straightedge and continue laying the tiles using the first one as a guide. Always work your way outwards from the center of the room.
Cutting Away the Excess
Prepare your snap cutter or any other type of electric or manual cutting machine and start marking the tiles you need to cut. Smooth the cut edges with a rubbing stone to get a visually pleasing result. If the waste you need to cut off is less than an inch wide you could also use nibblers to easily snap pieces off. If you are using an electric wet saw, you should cut the tiles carefully along the marked lines. You can do this with straight cuts or even cut an angle inside the tile so it fits with outside corners.

Cleaning Up
Before you start grouting you need to carefully clean up the excess thinset from the tiles and make sure they are dry and free of dust and oiliness. You can use a margin trowel to scrape off the unnecessary material or a lightly soaked sponge in case the installation is not yet completely dry. Also don’t forget to tend to the joint cavities because you will need them to be clean for the next steps. Now the tile surface is ready to be grouted and sealed.
Grouting the Tiles
Mix some grout or get grout that is pre-mixed for direct use. Get the trowel and start scooping from the grout mix and applying it to the floor surface, as you spread it with a rubber float at a diagonal motion. You don’t want to spread the grout by pushing it into the direction of the joints but by spreading it from an angle. Work from the direction of the wall to the center to get a light and seamless cover. After you are done, leave the grout to rest and dry for about 30 minutes before you begin washing on top of it.
Washing Up the Grout Haze
The grout should be dry before this last cleaning step so you don’t mess up the pigment and consistency. The grout haze is the buildup on the surface of the tiles that should be cleaned with a clean damp sponge and bucket of water or a special grout cleaner. Wipe the tiles as many times as you need before they come back to their original colour but don’t apply too much pressure so the grout doesn’t dissolve or get pushed out from the edges. The grout haze will probably appear again so wait and be ready to get the sponge again and wipe all over.


2 comments
Cars in Goa
Excellent post. Thanks for posting such an amazing article.
If you are looking for an online self drive car rental in goa, visit https://carsingoa.com/
Sona Gupta
Very informative and useful post. Thanks for sharing.
If you are looking for best floor tiles, visit https://www.lavishceramics.com/